In this article, I demonstrate how to run automated tests written in Appium on an Android emulator running in a docker container. In this case, they are written in Java, but you can use any supported language of your choice. In addition, you can use the configuration to run tests on remote machines for automated tests in CI environments, such as Jenkins or GitLab CI.
Step 1: Set up the environment
What you’ll need to get started with your automated tests:
- a processor that supports vmx/svm (use this link to check if your processor supports it),
- the target operating system is Linux, but we can also perform a test configuration on Windows,
- Docker.
Begin by typing in the below command:
If the value returned is greater than 0, it means that this processor is able to support this solution. Once verified, follow the rest of the instructions from this link and install the dependencies for KVM, depending on your Linux version or just run the base image from step 2 that has all configuration that is needed.
In case you want to run the tests on a Windows machine, I recommend that you run a container with Ubuntu (see below), and install any dependencies inside it according to the instructions in the link included above.
The solution I propose uses docker in docker (DIND), however, we can also install any dependencies directly on the target machine.
Step 2: Prepare the base image for DIND launch
Below you will find a dockerfile script that you can use to create your image containing all the dependencies from the above configuration. If you don't use Java and Maven to run your automated tests, you can remove the openjdk-11-jdk Maven dependencies and specify the libraries used by your test project.
Save the above script to a dockerfile. Next, run the below command in the console where the dockerfile is located:
This is how you will build an image, which will have all the dependencies necessary to run the automated tests. You can then run the image as a container on your local machine or use it to configure on GitLab CI directly (more on this later in the article).
If you don't want to use the DIND approach, install all the dependencies using a terminal on your target machine.
If you are using a Windows machine, build the above image, then go inside the container. This will give you the ability to use the Linux system and its commands, in CMD enter the command where image_id is replaced with the image name of the built image:
Step 3: Run the emulator container
To run the emulator, use the docker-compose.yaml script:
The script will create two containers: the Selenium Hub and Nexus Emulator. The services run in their own container and are networked together under the name “my_network” so that the containers can see each other (you can set paths to your app.apk in volumes, but this is not required).
The above docker-compose.yaml script can be run on the target machine using the command:
After typing the below command…
…we should see the following result:

Copy the application to the inside of the docker-android container (nexus_emulator) using the following command:
Where 6d590cc0737f is the id of your container.
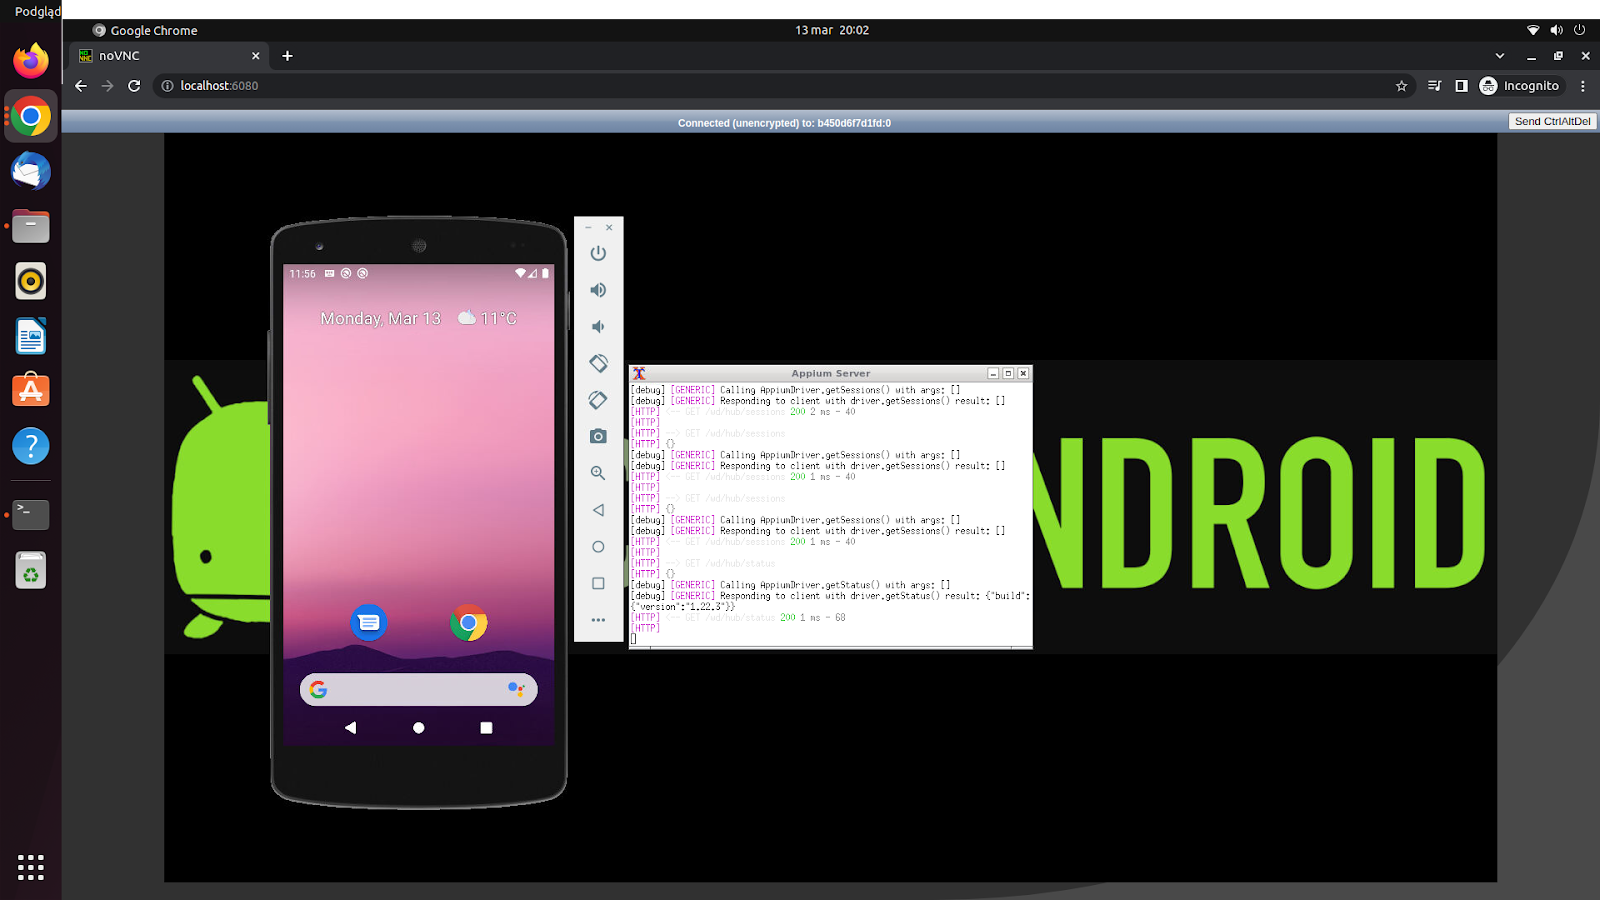
When you navigate to http://localhost:6080 or http://172.16.0.1:6080, you should see the emulator and console:
Step 4: Test the project configuration
The project configuration should look as follows:
Where serverurl is the address of the gateway where the Nexus emulator is located and on which the Appium server is running, while the apppath is the path to the application inside the Docker container. If you are not using the DIND approach, http://localhost:4723/wd/hub would also be a valid address.
serverurl can also be set to “http://localhost:4444/wd/hub". This way, we use a Selenium hub container. With this approach, it is required to provide “devicename” in the capabilities of our tests.
Step 5: Configure the GitLab CI DIND runner
If we configure everything under DIND, the most important thing in configuring the GitLab runner is to set “privilege=true" and attach “docker.sock” in the volumes.
When registering a new machine as a runner, we can specify the name of the docker image (which we created based on the dockerfile from step one) on which to run the job (there is no need to do this during configuration, it can be done directly in the job configuration in the gitlabci.yaml script).
When using the DIND approach:
- remember that the paths being mounted are host paths (that's why I give the docker cp command in the instructions).
- be sure to mount docker.sock.
If you install everything on the host without using DIND, there is no need to refer to a gateway – you can simply use “localhost”.